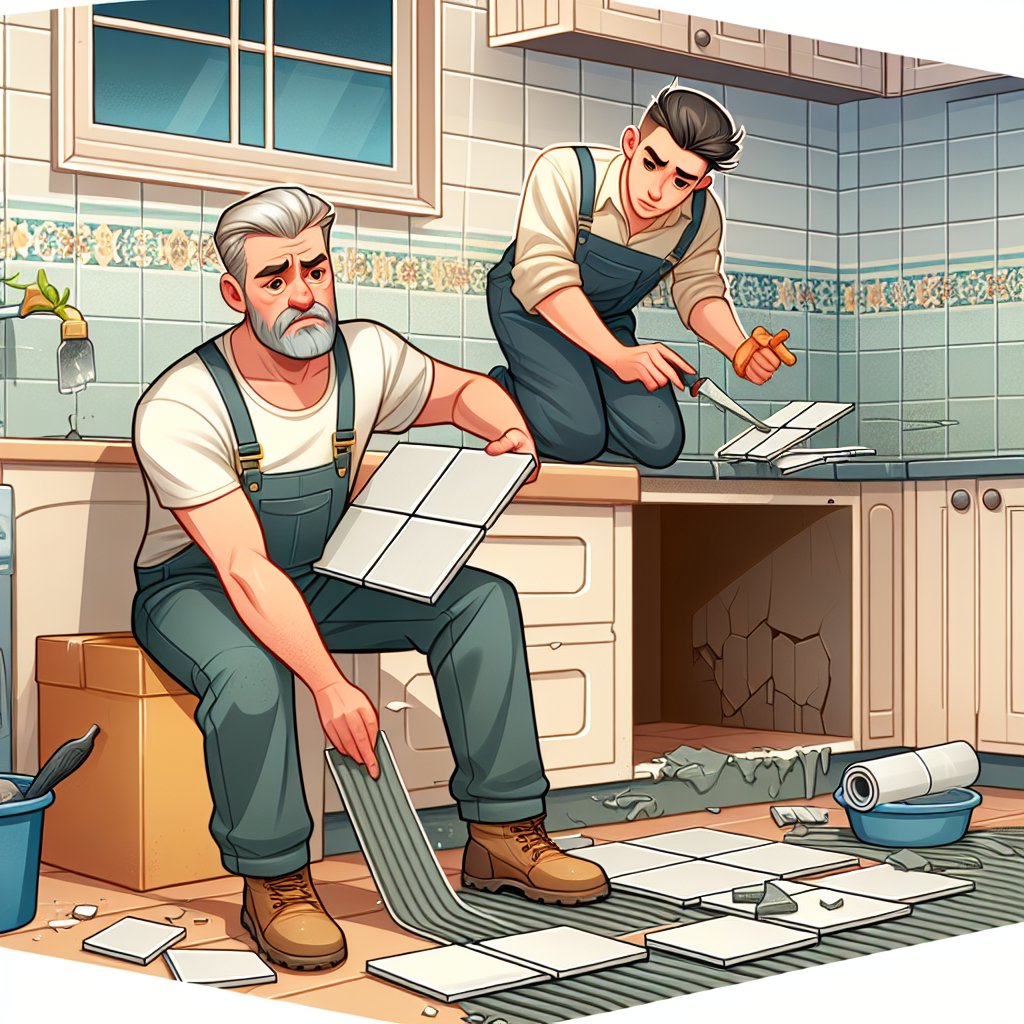
Common Tiling Mistakes and How to Avoid Them
Introduction
Tiling is a popular DIY project, but it’s easy to make mistakes that can ruin the look and durability of your tiling job. Here are some common tiling mistakes and tips on how to avoid them.
1. Poor Surface Preparation
Mistake: Not properly preparing the surface before tiling.
Solution: Ensure the surface is clean, dry, and level. Remove old tiles, repair any damage, and apply a primer if necessary.
2. Incorrect Tile Adhesive
Mistake: Using the wrong type of adhesive for your tiles or surface.
Solution: Choose an adhesive that is appropriate for the type of tile and the surface you are working with. Consult with a professional if you’re unsure.
3. Inadequate Planning and Layout
Mistake: Failing to plan the tile layout properly, leading to uneven or misaligned tiles.
Solution: Measure the area and plan your layout before you start. Dry lay the tiles to see how they fit and make any necessary adjustments.
4. Uneven Application of Adhesive
Mistake: Applying the adhesive unevenly, which can cause tiles to sit unevenly.
Solution: Use a notched trowel to apply the adhesive evenly. Comb the adhesive to create ridges, ensuring a uniform thickness.
5. Incorrect Tile Spacing
Mistake: Not using spacers or using them incorrectly, leading to uneven gaps between tiles.
Solution: Use tile spacers to maintain even gaps between tiles. Remove the spacers before the adhesive sets.
6. Poor Grouting Technique
Mistake: Applying grout improperly, leading to gaps, cracks, or an uneven finish.
Solution: Press the grout firmly into the gaps with a rubber float and wipe away excess grout with a damp sponge before it dries.
7. Not Sealing the Grout
Mistake: Skipping the grout sealing step, which can lead to moisture and staining issues.
Solution: Apply a grout sealer once the grout has dried to protect it from moisture and stains.
8. Not Allowing Enough Drying Time
Mistake: Not allowing enough time for the adhesive and grout to dry, leading to weak bonds and movement.
Solution: Follow the manufacturer’s drying times for adhesive and grout. Avoid using the tiled area until everything is fully set.
Conclusion
By avoiding these common tiling mistakes and following best practices, you can achieve a professional-looking tiling job that will last for years. Take your time, use the right materials, and don’t rush the process for the best results.


